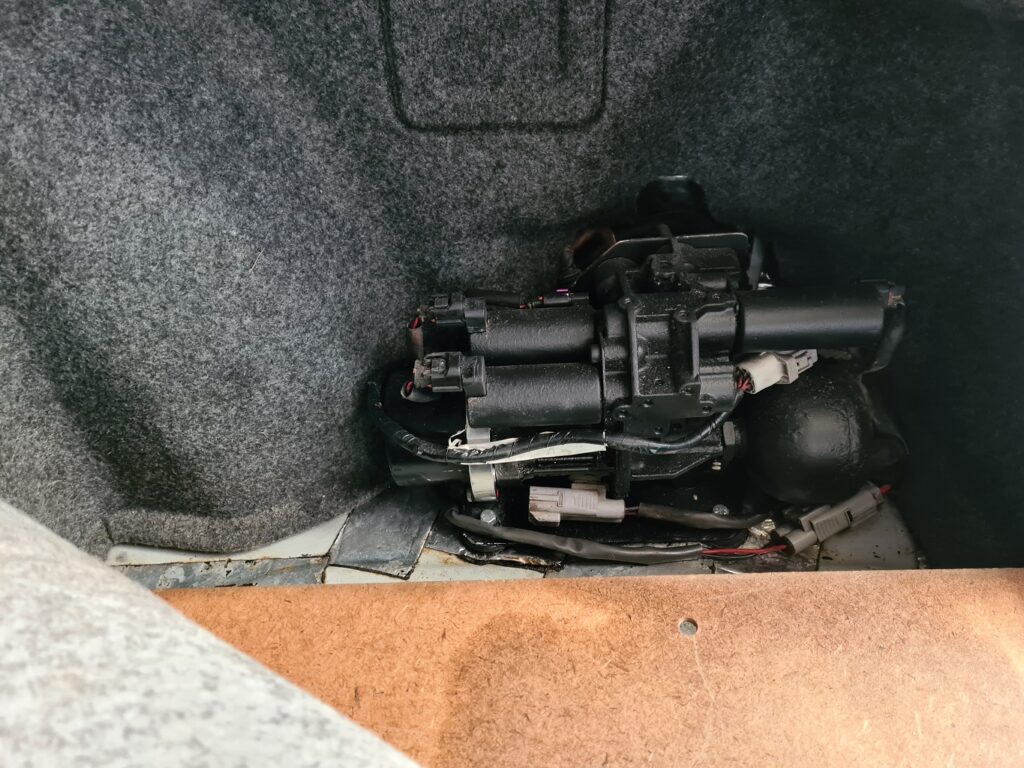
Hardwire it in the trunk or standard place and bleed it without any special tools, one man job! The reason “spinning the wheel” did not work for me – car will turn on the pump and as soon as it senses no pressure (air in the system) it will turn the pump off and throw an error in the dash. After that it will not turn on the pump anymore. You need to bleed it with the car off and be able to cycle through the solenoids… Hence the hardwire method. There’s no option to bleed it in the EvoScan for X (only up to X) and also EvoScan costs money 🙂 As always – I’m not responsible for anything you will break or short-circuit during this (if not done properly). You should be fine if you follow the diagrams and rules though. I’ve done it myself.
Things you will need:
- 2L ATF fluid – Mitsubishi manual suggests using “Diamond ATF III”
- Some 2.5mm2 (10 AWG) wire (black and red for easier connections, length depends on the pump location)
- 4 push buttons (for easier cycle-through of solenoids and power)
- Connectors for wire connections to solenoids/push buttons/battery – I just used whatever was laying around, use your own imagination.
- 50cm clear hose (smallest I could find in the store – just to fit on the bleeding nipple, same as the brake bleeding)
- a jar for ATF fluid which will be pushed from AYC/ACD
- BEER!
Follow same rules for wiring it as you would for any electronics – insulate all connectors, crimps, wires etc. etc.
Price? Maybe 10EUR (~10USD), I had all parts laying around so it did not cost me anything.
Take a look at the diagram for correct ACD solenoid placement as in the net there is some incorrect information. In the diagram you will also find correct wire thickness, pinouts for car harness, pictures describing locations, additional hardware to make it easier, part numbers and links to required parts etc.
Making this from a bunch of wires and a couple of buttons will save you ~160$ for a tool sold on eBay.
Schematic diagram (for EVOs 7 to 10):
EVO 7/8/9/10 – AYC/ACD DIY pump bleed tool
Let’s start:
- Jack up the car so you can access AYC and ACD bleeding ports. You can leave the car on the wheels if desired – no need to lift it up for the bleeding if you can access bleeding ports that way.
- Fill up reservoir with ATF fluid to the top
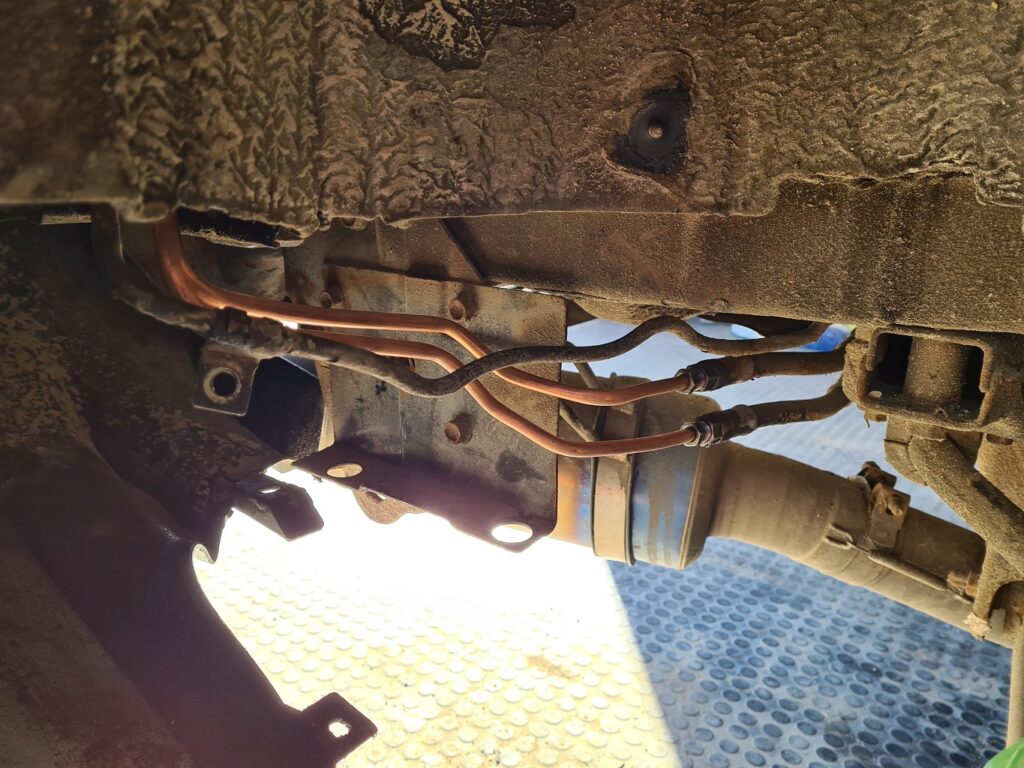
- Attach hose to LEFT bleeding port on the rear diff, put the other end to the jar, crack the port open a turn or two until fluid starts running.
A Note: When you push the “Power” button – pump engages and rear diff pressure control solenoid opens (I call it “Gate valve” – this solenoid should be open to bleed both LEFT and RIGHT parts of AYC).
DO NOT keep the pump running for longer than 3 second at a time! The pump motor can overheat (the stock one is very weak) or ATF in the reservoir can fall below MIN mark.
- Push “AYC LEFT” button and push “Power” for 3 or so seconds, release both buttons.
- Check bleeding hose (there should be no bubbles visible), fill up reservoir, repeat step 4 if required.
- Push “AYC RIGHT” button and push “Power” for 3 or so seconds, release both buttons.
- Check bleeding hose (there should be no bubbles visible), fill up reservoir, repeat step 6 if required.
- Close LEFT bleeding port on the rear diff, remove hose.
- Attach hose to RIGHT bleeding port on the rear diff, put the other end to the jar, crack the port open a turn or two until fluid starts running.
- Repeat steps 4 to 7 one more time.
- Close RIGHT bleeding port on the rear diff, remove hose.
- You’re done with the AYC and rear diff, you can remove all cables going to the white solenoid connector.
- BEER o’clock! You’re half way done!
- Move to the front of the car, add a hose to ACD bleeding port on the transfer case, put the other end to the jar, crack the port open a turn or two until fluid starts running.
- Push “ACD” button and push “Power” for 3 or so seconds, release both buttons.
- Check bleeding hose (there should be no bubbles visible), fill up reservoir, repeat step 14 if required.
- Close the bleeding port, remove hose, jar, cables etc.
- Leave it to rest for a couple of minutes. Fill up reservoir fluid up to “MAX” line, level should be checked on a cold car.
- Connect the pump up as it was with car harness, fire up the car, check lights – mine had no errors in the dash anymore.
- Profit.
Depending on how smooth it went and the amount of beer you had – either drive the car around or wait till another day :))) check ATF level in the reservoir after the drive – usually it drops a bit when you drive it and comes back after it sits for a bit (cools down). It should not fluctuate a lot, maybe within MIN and MAX marks.
It looks like a lot but it actually took me ~30min. to do it all.

Patreon:
https://www.patreon.com/geriaune
If you want to drop me a beer: https://paypal.me/geriaune